FileGPS Installation Using Helm Charts
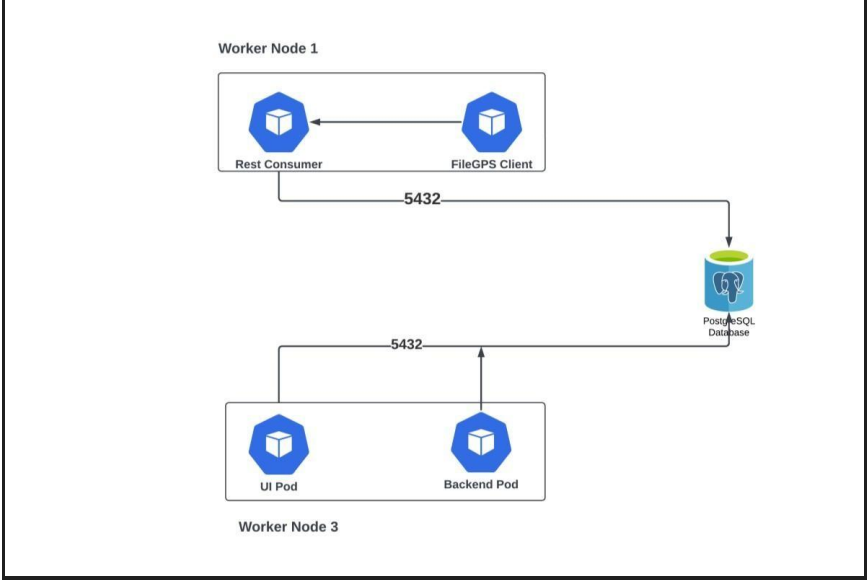
1. Architecture of FileGPS in OpenShifting
2. Prerequisites for FileGPS Deployment in OpenShift
Before proceeding with the installation of the FileGPS application in an OpenShift cluster, ensure the following prerequisites are in place:
• Access to the OpenShift Cluster: Verify that you have the necessary permissions to access and manage the target OpenShift cluster.
• FileGPS Helm Package: Ensure you have the Helm package required for deploying the FileGPS application.
• Container Registry Access: Obtain the credentials needed to access the container registry that hosts the FileGPS application images.
• Access to the FileGPS Namespace: Confirm that you have the appropriate permissions to create and manage resources within the designated namespace in the OpenShift cluster.
2.1 Platform Supported Model and Delivery
The FileGPS application can be deployed on the following platforms:
• RedHat OpenShift Container Platform >= 4.14
• IBM Cloud
• AWS Cloud
• Azure Cloud
• On-Premises Infrastructure
2.2 Versions
• FileGPS-6.3.2
2.3 Download and Transfer the Helm Package
Start by downloading the FileGPS Helm package. Transfer the package to a Linux backend that has access to the OpenShift cluster where the deployment will take place. After transferring the package, extract it using the following command:
tar -xvf <helm_package_name>
2.4 Create a Namespace in OpenShif
Before making any modifications to the Helm charts, it is essential to create a dedicated namespace in the OpenShift cluster for the FileGPS application. Execute the following command to create the namespace: oc create namespace <namespace_name>
2.5 Create an Image Pull Secret
Once the namespace has been created, the next step is to set up an image pull secret. This secret contains the necessary credentials to authenticate with the container registry and pull the required FileGPS images. Use the following command to create the secret
oc create secret docker-registry <secret_name> \
–docker-server=<your-registry-server> \
–docker-username=<your-username> \
–docker-password=<your-password> \
-n <namespace>
By completing these steps, you ensure that the OpenShift cluster is properly configured to authenticate with the container registry during the deployment process.
3. Helm Charts Changes
To further customize the deployment, additional changes can be made to the Helm charts. Begin by opening the values.yaml file in a text editor of your choice on the Linux backend.
3.1 Secret file Configuration
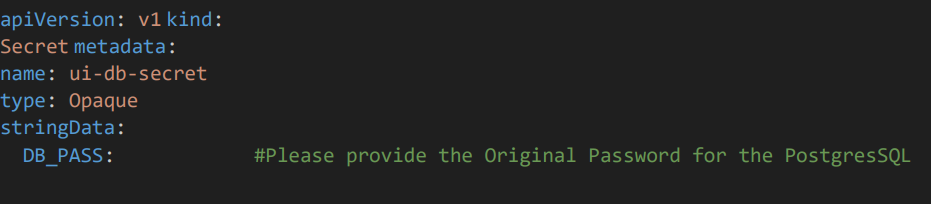
• In the root path of helm chart there will be a file name “app-secret.yaml” . Here we would add the passwords and keep it in secret.
• Here please provide the values which need to be kept in the values.yaml
• In DB_PASS provide UI database password
• Give the SMTP Username and Password for the backend
• Give the DB username and password in postgres-username and postgres-password. Here password should be given in AES256 encrypted form
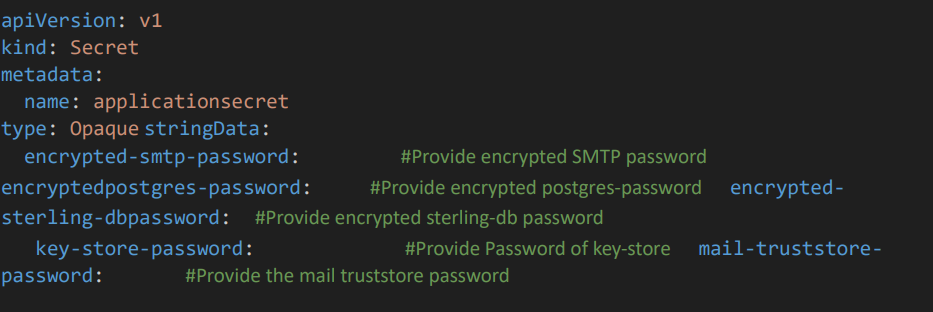
• Apply the file by the command oc apply –f app-secret.yaml to get secrets created
3.2 Service Account Configuration Section
Give the service account name.

3.3 Imagepull secret and Pull Policy
• imagePullSecrets: Refers to the secret used for pulling images from the container registry.
Replace the “test” with your actual secret name.
• Also specify the Image Pull Policy such as Always pulls every time, IfNotPresent pulls if not local, and Never uses only local images.

4. UI Configuration
4.1 Image Configuration
• Give the UI image name, tag.

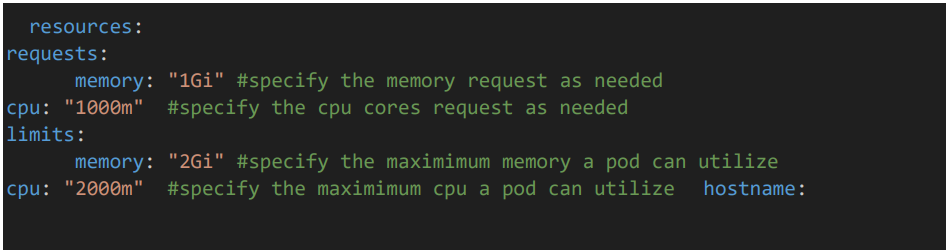
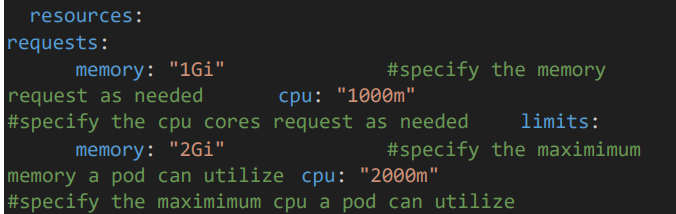
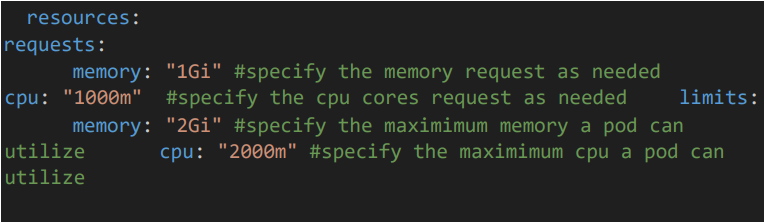
4.2 UI Pod resource configuration
• Give the resource CPU and memory limits for Image pod.
• Give the hostname as well for accessing UI.
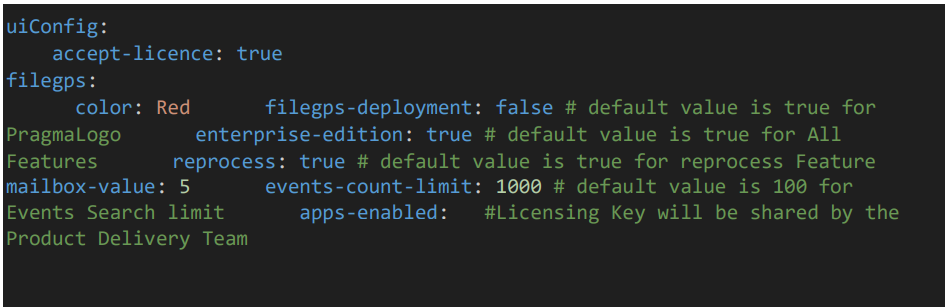
• Provide Uiconfig details such as accept-licence, filegps-deployment, enterprise-edition, reprocess, mailbox and events-count-limit etc
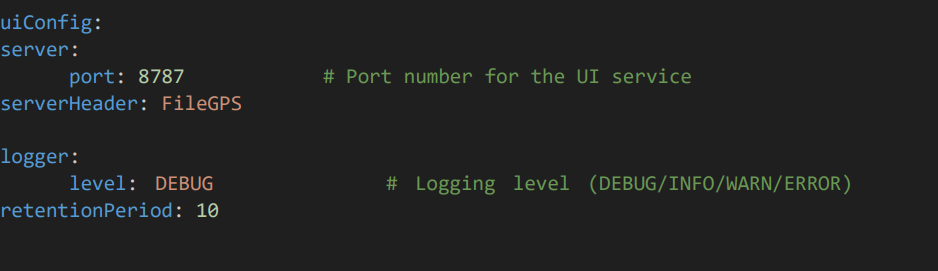
4.3 Server port and logger configuration
• Provide the Port number of the UI service and logging leve
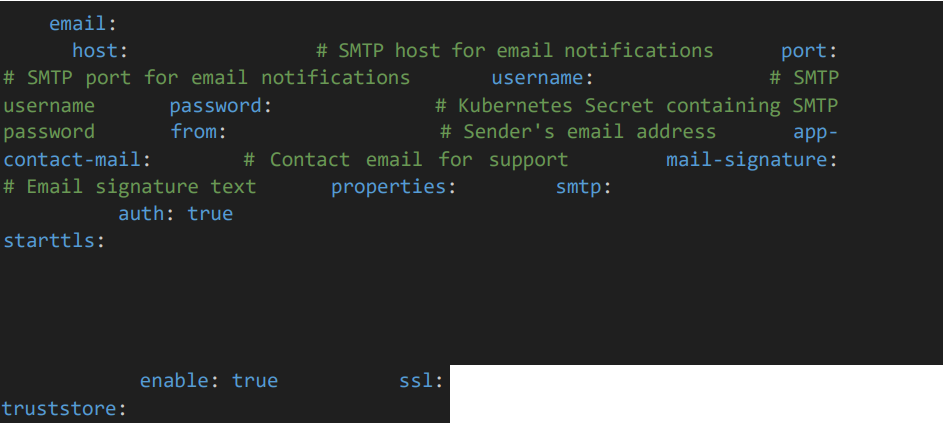
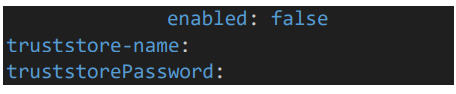
4.4 UI SMTP Configuration
• Provide the details SMTP details such as host, port, username, from.
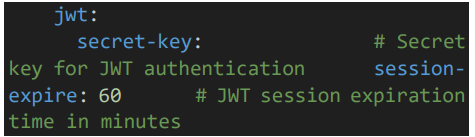
Provide JWT secret key and session expire
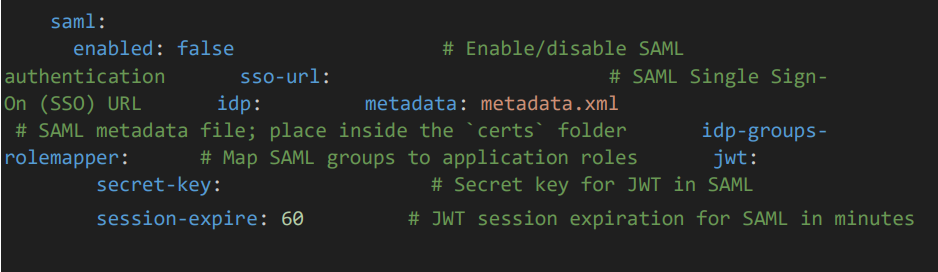
4.5 SAML configuration
• Set enabled as true
• Provide SAML configuration details such as sso-url, medata file
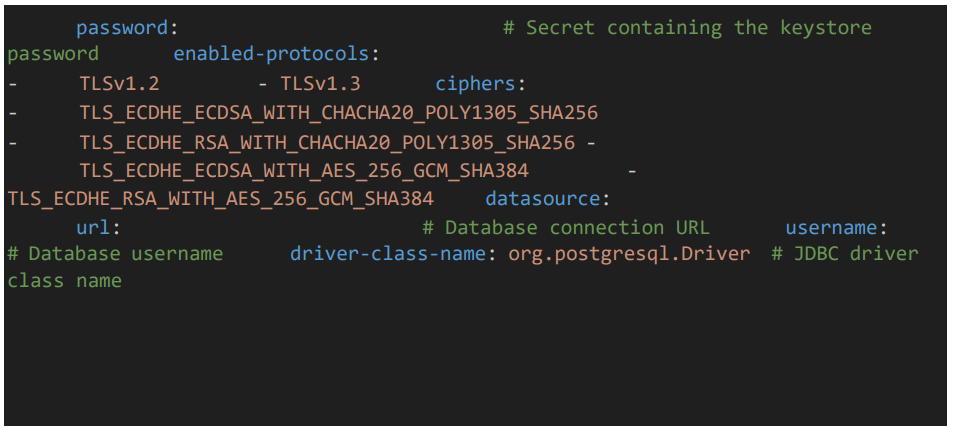
4.6 Timezone, SSL and datasource configuration
• Provide the timezone as required
• Provide the keystore file which should be placed inside the “certs” folder

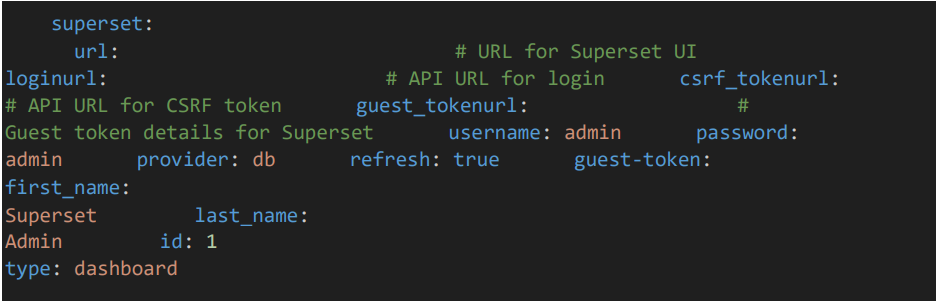
4.7 Superset configuration
• Provide the superset configuration details.
5. Backend Configuration
5.1 Image configuration
• Give the UI image name, tag.

5.2 Backend Pod resource configuration
• Give the resource CPU and memory limits for Image pod.

5.3 Persistent Volume Configuration
• Provide the persistent volume details.

• Provide timezone ID.
• Provide the SMTP details such as host, PORT, from username.

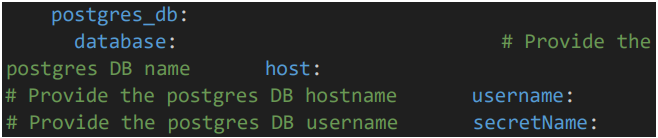
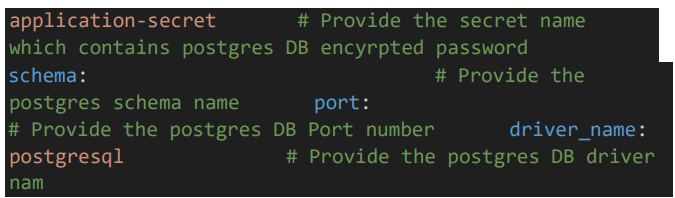
• Provide DB details
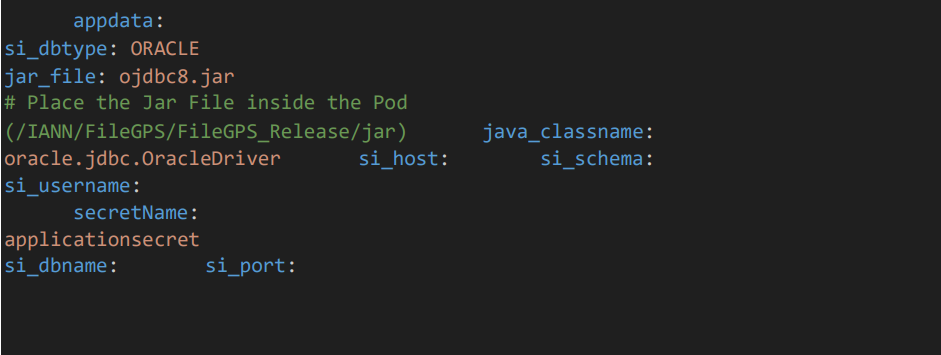
5.4 App data configuration
• Provide the Sterling details
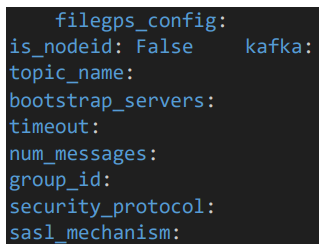
5.5 Kafka Configuration
• Provide the kafka details

6. RestConsumer configuration
6.1 Image configuration
• Give the Image repository and tag.

6.2 Resource configuration
• Provide the resource limits such as CPU and Memory as needed.
6.3 Persistent Volume Configuration
• Provide the persistent volume details

• Provide rest consumer hostname and the path where you want to store the logs

7. Client Configuration
7.1 Image configuration
• Give the Image repository and tag

• Provide the resource limits such as CPU and Memory as needed.
8. Installing Application
• After updating all the values in values.yml we need to install the helm which deploys all the resources in templates file.
• Save the values.yaml file.
• To install the helm chart: helm install -f <path/to/helmchart>
• To upgrade the helm chart: helm upgrade -f <path/to/helmchart>
• To roll back the helm chart by giving revision number: helm rollback